
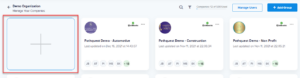
Mentioned below are the methods involved to connect a company with Xero accounting tool.
On the Manage Your Companies console, click on the Add Company icon, as shown in the below screen-
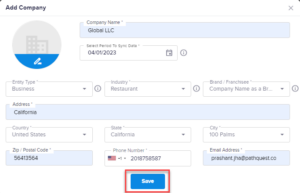
The system displays Add Company Window-

The above screen includes the following components-
| S.No. | Screen Elements | Description |
| 1. | Company Name | Enter the name of the company in the field |
| 2. | Select period to sync data | A user needs to select a desired year including date and month to initiate the data syncing process for their company. This entry will be used to fetch the company data from accounting tool. To display the calendar for time period selection, click the icon as shown in the below screen-
|
| 3. | Entity Type | This is a dropdown field, which includes two options-
· Business · Non-profit organization
Select anyone of the above two options to register the company as a respective category. |
| 4. | Industry | This dropdown field will display the pre-existing options on the basis of selection made in Entity Type field |
| 5. | Brand/Franchisee | This dropdown field too gets activated and displays the options when a respective value is selected from the Industry dropdown field. A user has the option to choose “Company name as a brand” or “Other” from the list of options, in case if s/he doesn’t find the relevant brands from the list of available options from dropdown field. |
| 6. | Brand/Franchisee Name | This field appears if the user has selected “Other” from Brand/Franchisee dropdown field. The user has the option to enter the name of brand/franchisee for his company manually. |
| 7. | Address | Enter the address of the company |
| 8. | Country | Select a country location of the company from the dropdown field |
| 9. | State | Select the respective state of the selected country name from dropdown field. This field will display the list of state on the basis of selected country name. |
| 10. | City | Select the city location of the company from dropdown field. It will display the list of options on the basis of selected state |
| 11. | Zip/Postal Code | Enter the zip/postal code of the company location in the field |
| 12. | Phone Number | Enter the phone number of the company in the field |
| 13. | Email Address | Enter the company email address in the field |

Click Save button after making entries in all the fields.
Once a company is created successfully, the system displays the following message-
It also pops-up a Window displaying the account connectivity tools as shown in the below screen-
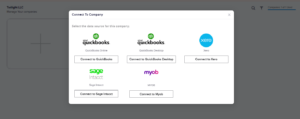
Click Connect to Xero to connect the company with Xero accounting tool
The system redirects to Xero login screen-
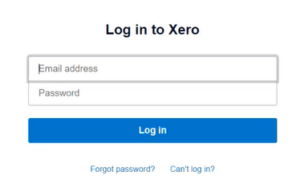
Enter the credentials in respective fields and click the highlighted button to login-
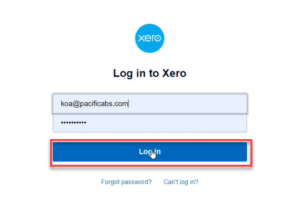
Note- A user with an Admin role or having complete access will be able to login to Xero
On receiving the valid credentials, the system redirects to the following screen-
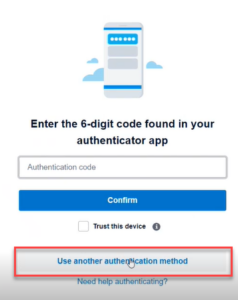
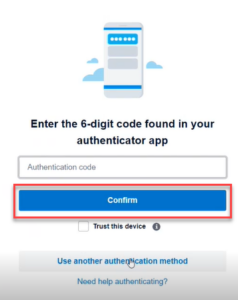
This is an authentication code screen. There are two ways of authenticated login.
Case 1:
The system sends an authentication code to the app. Enter the received code in the Authentication Code field-
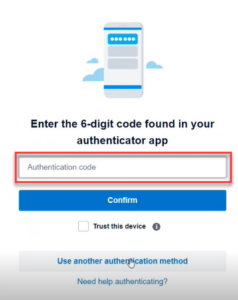
Click Confirm button once entering the code
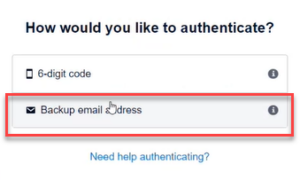
Case 2: In case of some other mode of receiving the code, click on Use another authentication method link. This is as shown in the below screen-
The system displays the following screen with authentication options-

Click Backup email address to receive the code-
The system redirects to the following screen-

Click Send Code button to receive the authentication code in email as shown in the below screen
The system redirects the user to following screen-
Enter the confirmation code received in the registered email address and click on Log In button.
The system redirects to the Xero connectivity interface-
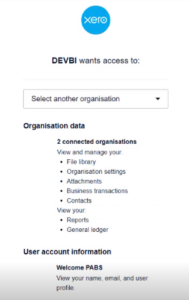
It includes a dropdown field.
It includes the list of organizations created by user along with the ones already connected with Xero.
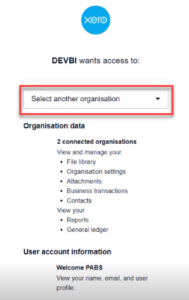
Click on the dropdown field to view the list of companies.

Note- The organizational dropdown field only appears when there are multiple companies of the user. In case of first-time connection, there will be no organizational dropdown field and the created company will show auto selected.
Select a desired company to connect with Xero and click Allow access button. This is as shown in the below screen-

On a successful connection, the system displays the following screen-
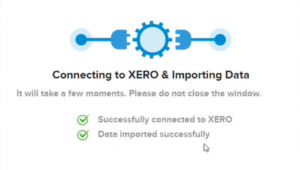
Further, the user is redirected to Manage Companies screen-

With the interface shown above, a user can take a high-level view of the tool by clicking on Start Tour button

Click Skip to skip the tour process.

The connected company with Xero accounting tool and its highlighted Xero icon will be displayed on the console.
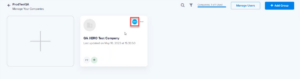
This finishes the process of company connectivity with Xero accounting tool.