Recently updated on June 6th, 2023 at 09:33 am
QuickBooks Online company connection
Below process outlines the steps to connect QuickBooks Online with PathQuest BI. Once the connection is established it helps sync the data from QuickBooks Online to PathQuest BI.
- To get started with PathQuest. Visit www.pathquest.com PathQuest website and click Sign Up. Or, use below direct link to access the sign-up page: https://signup.pathquest.com/sign-up
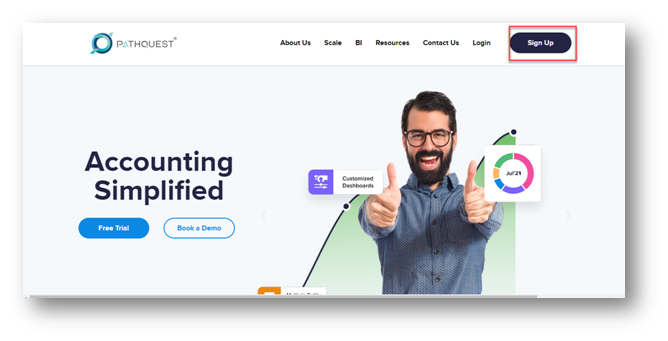
- Fill the sign-up form and click Get Started. Or, you can use Sign UP with Google option for easy access to the sign-up process.
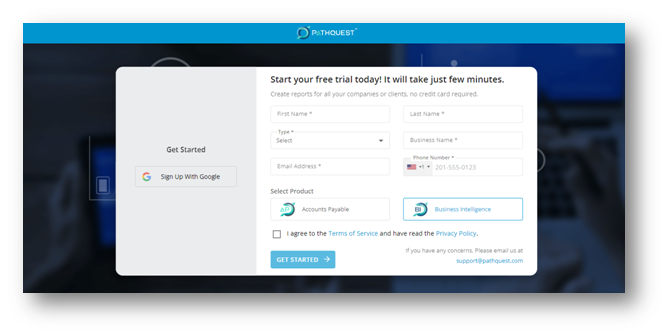
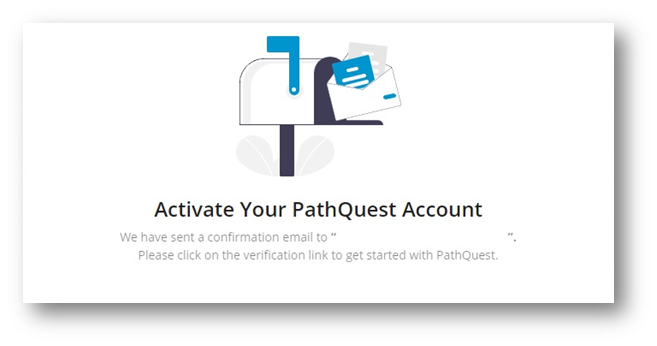
- Once you click GET STARTED, a confirmation email will be sent to the email address which you entered while Sign Up process.
- User will receive an email from noreply@pathquest.com , click Active My Account.
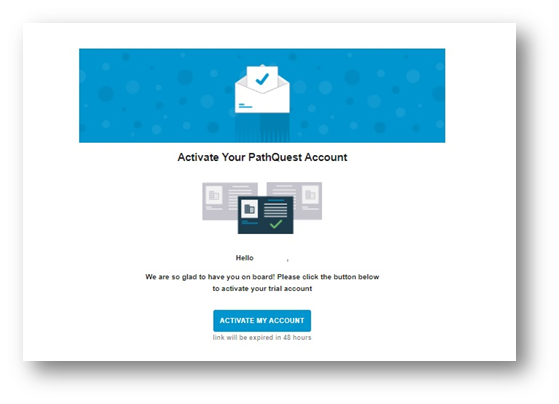
Note: The link will be active for the next 48 hours. To get the link again you need to follow the sign-up process again.
- Now, set your password for PathQuest account and activate the account.
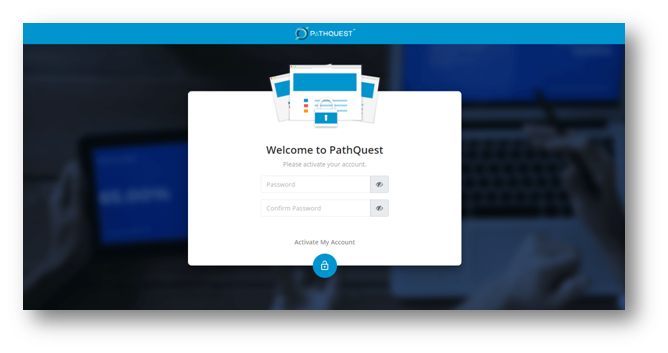
- After successful sign up, you will be redirected to below screen:
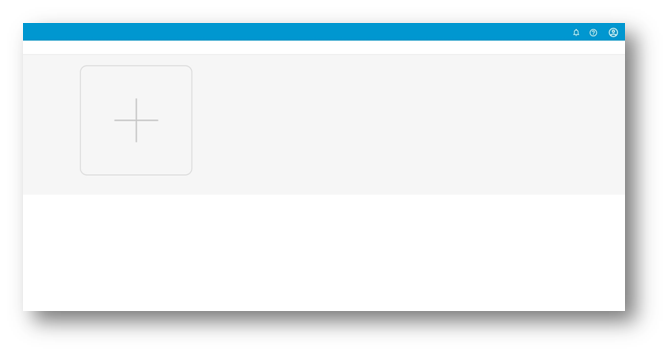
- You can create your first company in PathQuest. To add new company to PathQuest, click “+” on manage company page. The Add Company pop-up will open. Fill the company details on Add Company page.
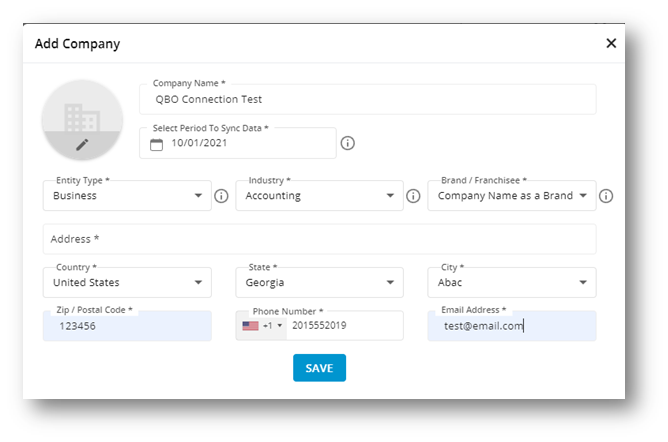
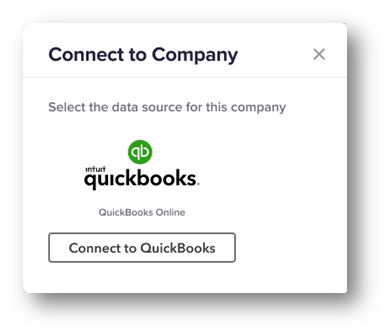
- Click SAVE. Once you save the company details the company will be created and the Connect to Company page will open. On Connect to Company page, click Connect to QuickBooks.
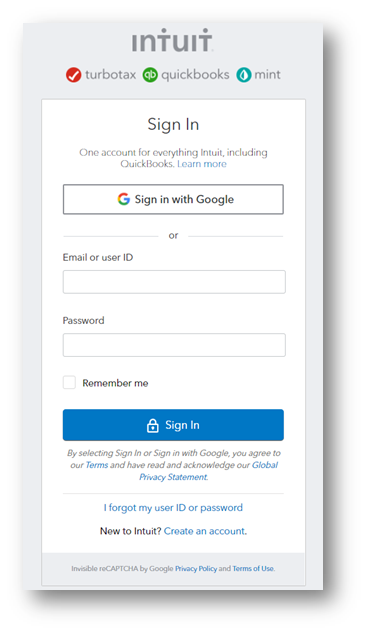
- The QuickBooks Online Login page will be open, where you need to login with the QuickBooks Admin User Credentials.
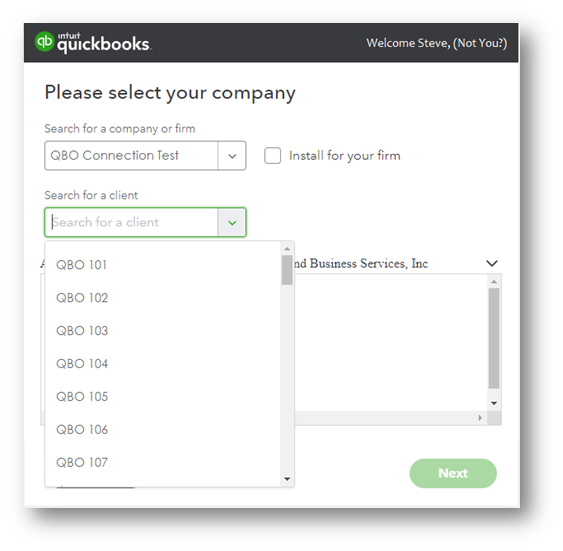
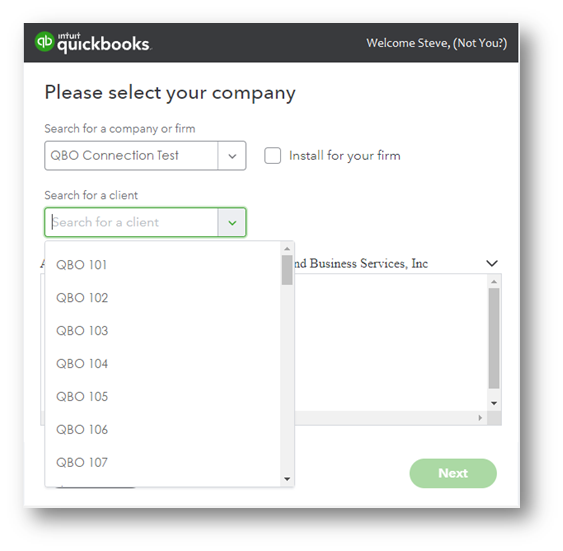
- After successful login, the company selection page will open where you need to select the valid company and then click Next.
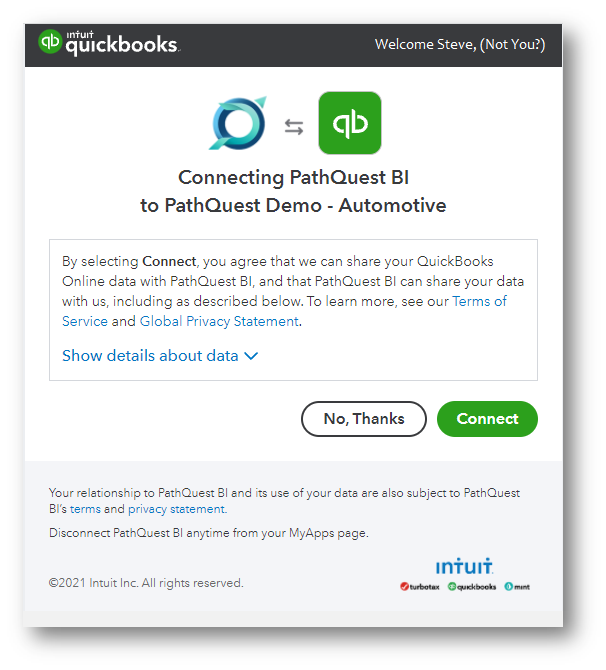
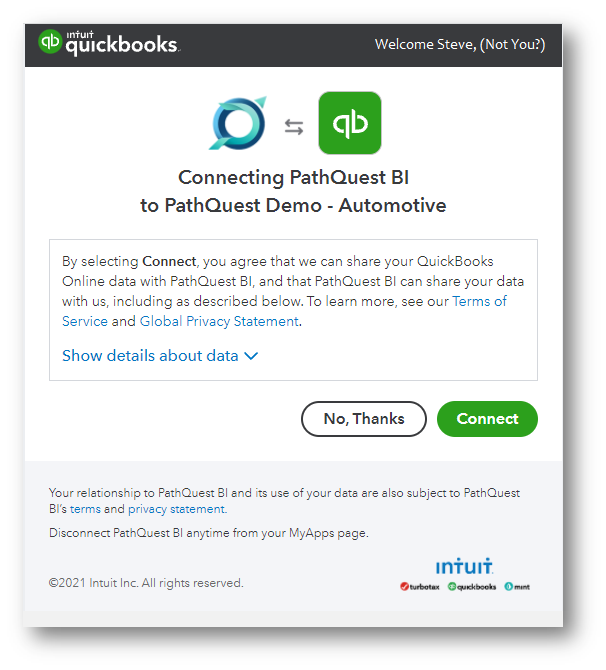
- A Connecting PathQuest BI confirmation page will open. If you agree to data share terms and policies then click Connect, otherwise click No, Thanks to cancel the connection process.
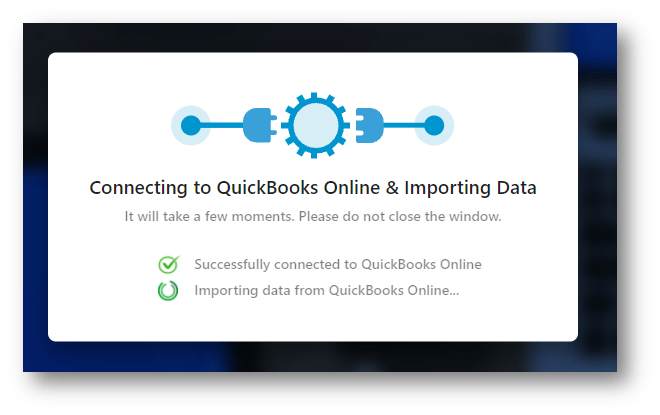
- After successful configuration, you’ll get successful message informing that status connected and data will be synced.
- Simultaneously, a company card will be created under Manage Companies page. You can use this company card to manage the company.
Disconnect from QuickBooks Online
You can disconnect company from QuickBooks. Note that, if you disconnect the company, you’ll no longer to be able to sync data from QuickBooks Online.
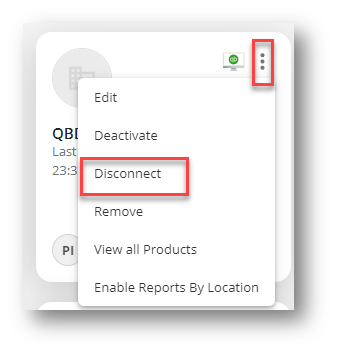
- To disconnect from QuickBooks Online, from Manage Companies page, click more actions icon and click Disconnect.
- The confirmation message will display. if you are sure to disconnect company from QuickBooks Online then click Yes, otherwise click No.
- Once you disconnected company, you’ll get success message that “Disconnected successfully”.
Reconnect to QuickBooks Online
Below process outlines the steps to reconnect QuickBooks Online with PathQuest BI. Once the connection is re-established it helps sync the data from QuickBooks Online to PathQuest BI again.
- Login with your PathQuest account. To access the PathQuest login page browse the following URL: https://login.pathquest.com/auth/login.
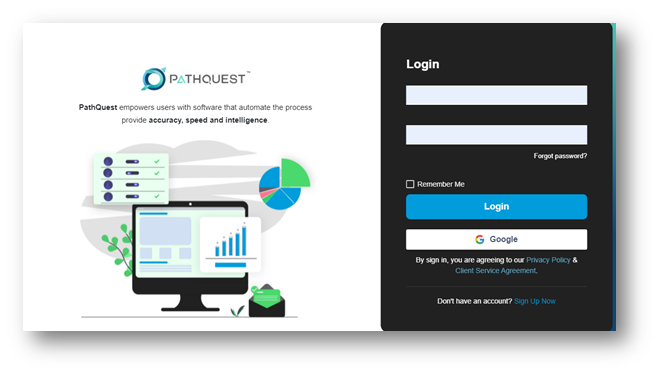
- Enter your registered Email Address and Password. Click Login. The default dashboard page will open.
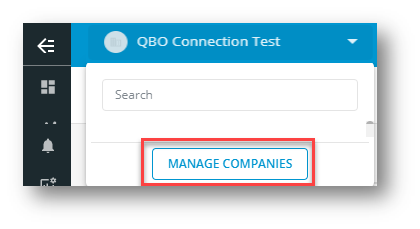
- From Dashboard page, click company name dropdown appear on application header. Click MANAGE COMPANIES.
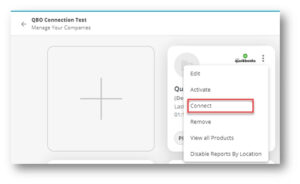
- From Manage Companies page, click more actions icon on company card that you want to re-connect. Click Connect to QuickBooks.
- The QuickBooks Online Login page will be open, where you need to login with the QuickBooks Admin User Credentials.
- After successful login, the company selection page will open. Select the appropriate company name and then click Next.
- A Connecting PathQuest BI confirmation page will open. If you are agreed to data share terms and policies then click Connect, otherwise click No, Thanks to cancel the connection process.
- After successful configuration, you’ll get success message that “Successfully connected to QuickBooks Online”.
Closure
This is all you need to follow for connecting and disconnecting QuickBooks Online with PathQuest. For support, please contact support@pathquest.com.